Making the Best Gluten-Free Buttermilk Pancakes!

Here's how YOU can make delicious and EASY Buttermilk Pancakes!
We're going to use gluten-free flour here, but you can replace it with conventional all-purpose flour if you'd prefer, they both work.
Ready?
**As always, read through the entire recipe before starting, unless you're like me and you think you have a fully stocked pantry, but probably don't. Haha.
Makes 5 - 4" Pancakes
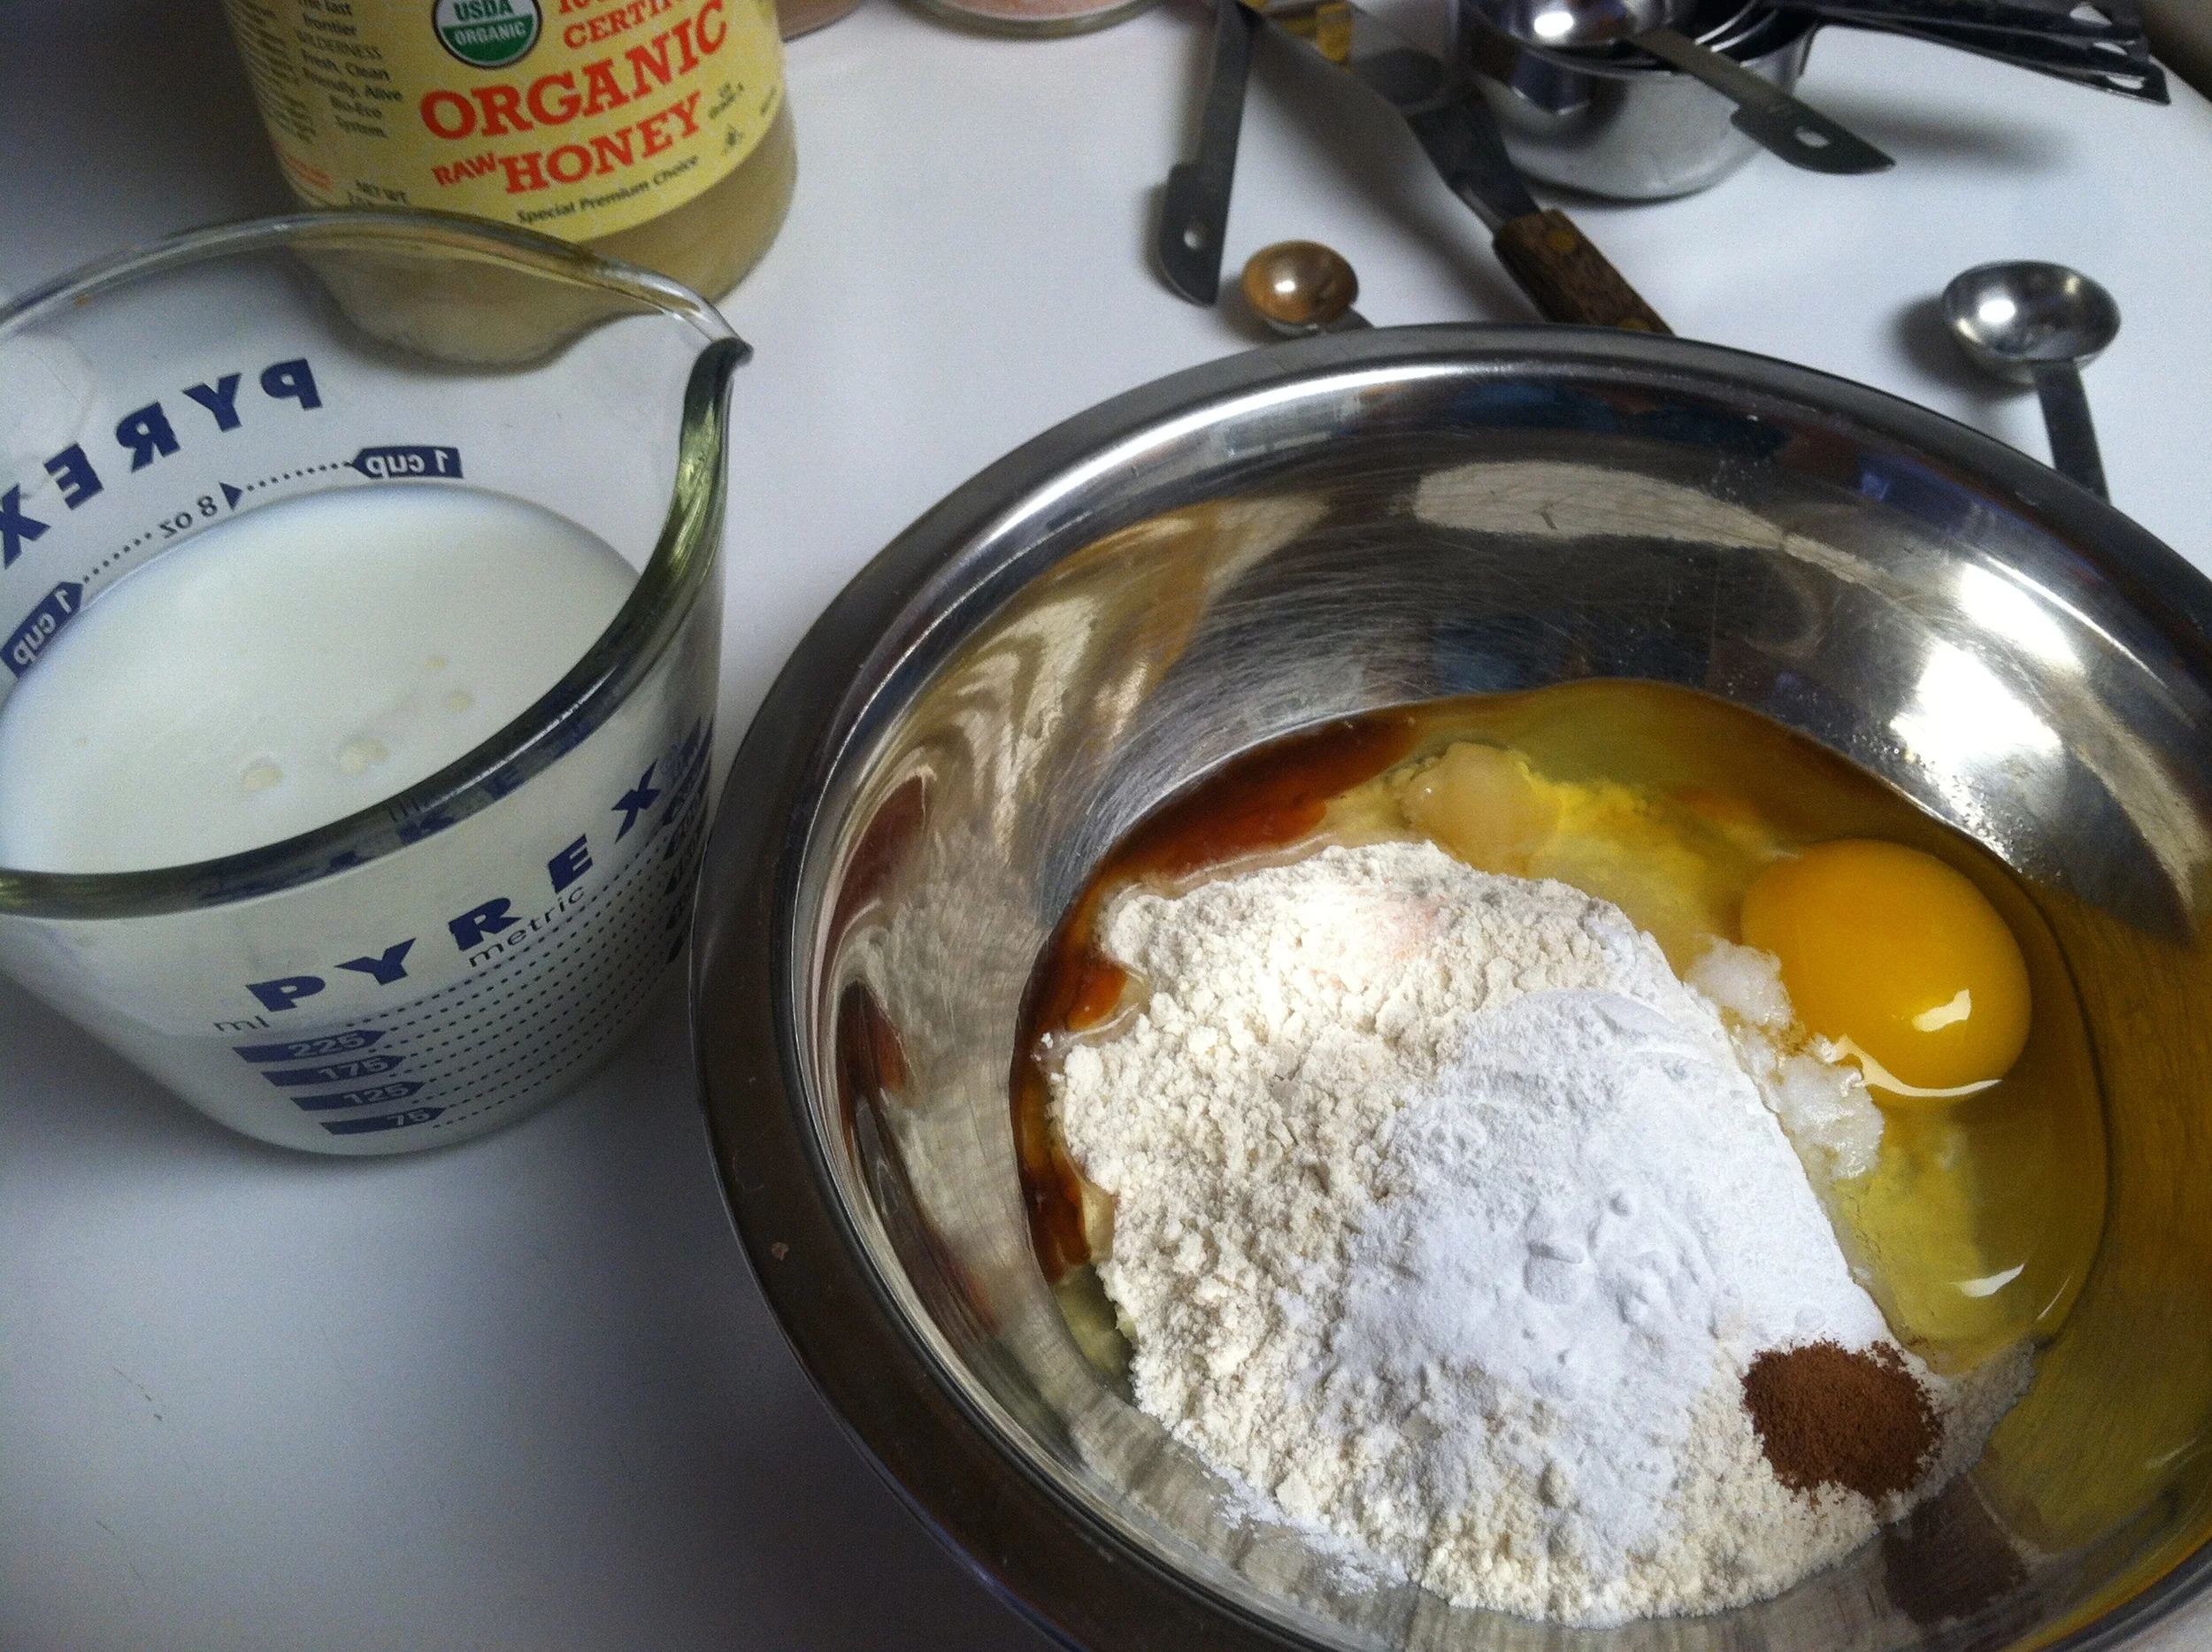
INGREDIENTS
01__1 cup all-purpose gluten-free flour (I like King Arthur's) or conventional flour
02__1/2 tsp raw organic honey or regular honey
03__1 tsp baking powder
04__1/2 tsp baking soda
05__1/8 tsp ground cinnamon
06__1/8 tsp pink salt or sea salt
07__1 cup buttermilk (full fat if you can find it)
08__1 egg (recipe standard is large)
09__1/2 tsp pure vanilla extract
Ghee (clarified butter) or unsalted butter for your pan
DIRECTIONS
-Place ingredients 01-09 in a bowl, that's right, all of it in a bowl. Easy!
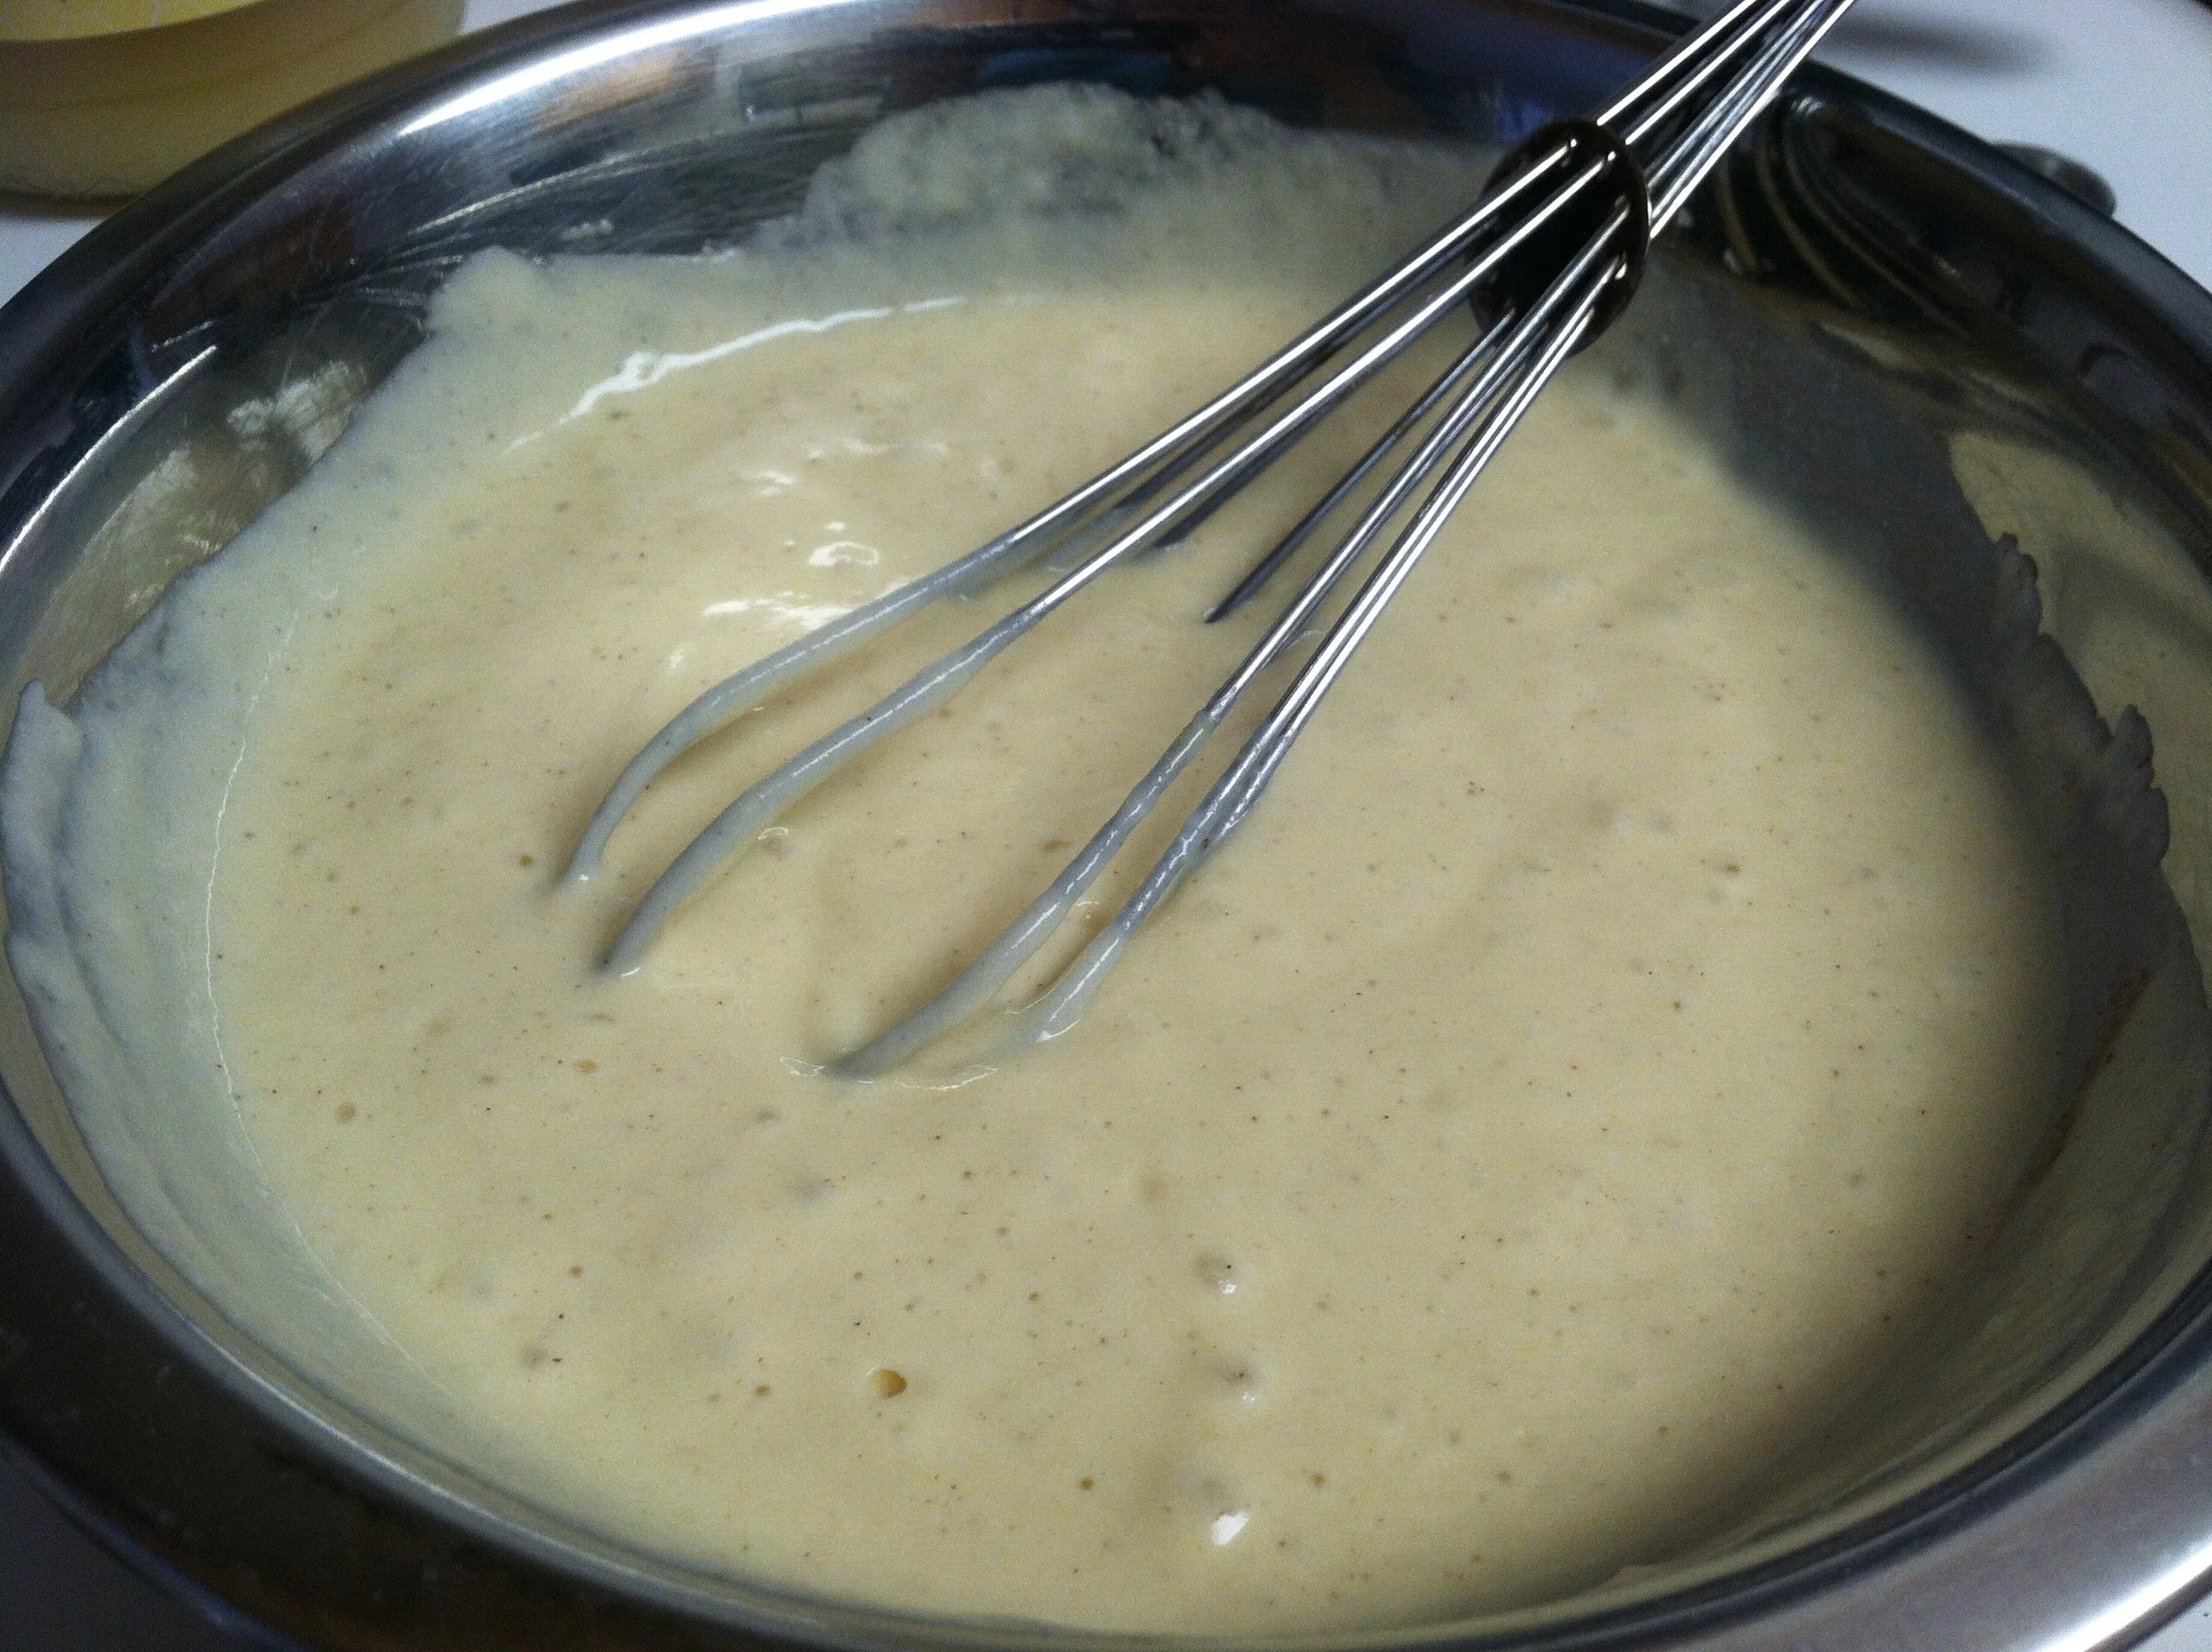
-Use a whisk and mix all the ingredients until smooth and thick, the batter should be runny.
-Heat up your pan and melt enough ghee or butter to thin coat your pan.
-Keep your pan on med-low heat for the entire cooking process. (you don't want burnt pancakes)
-Your batter will thicken as it sits, just make sure to stir it up each time before pouring it onto your hot pan.
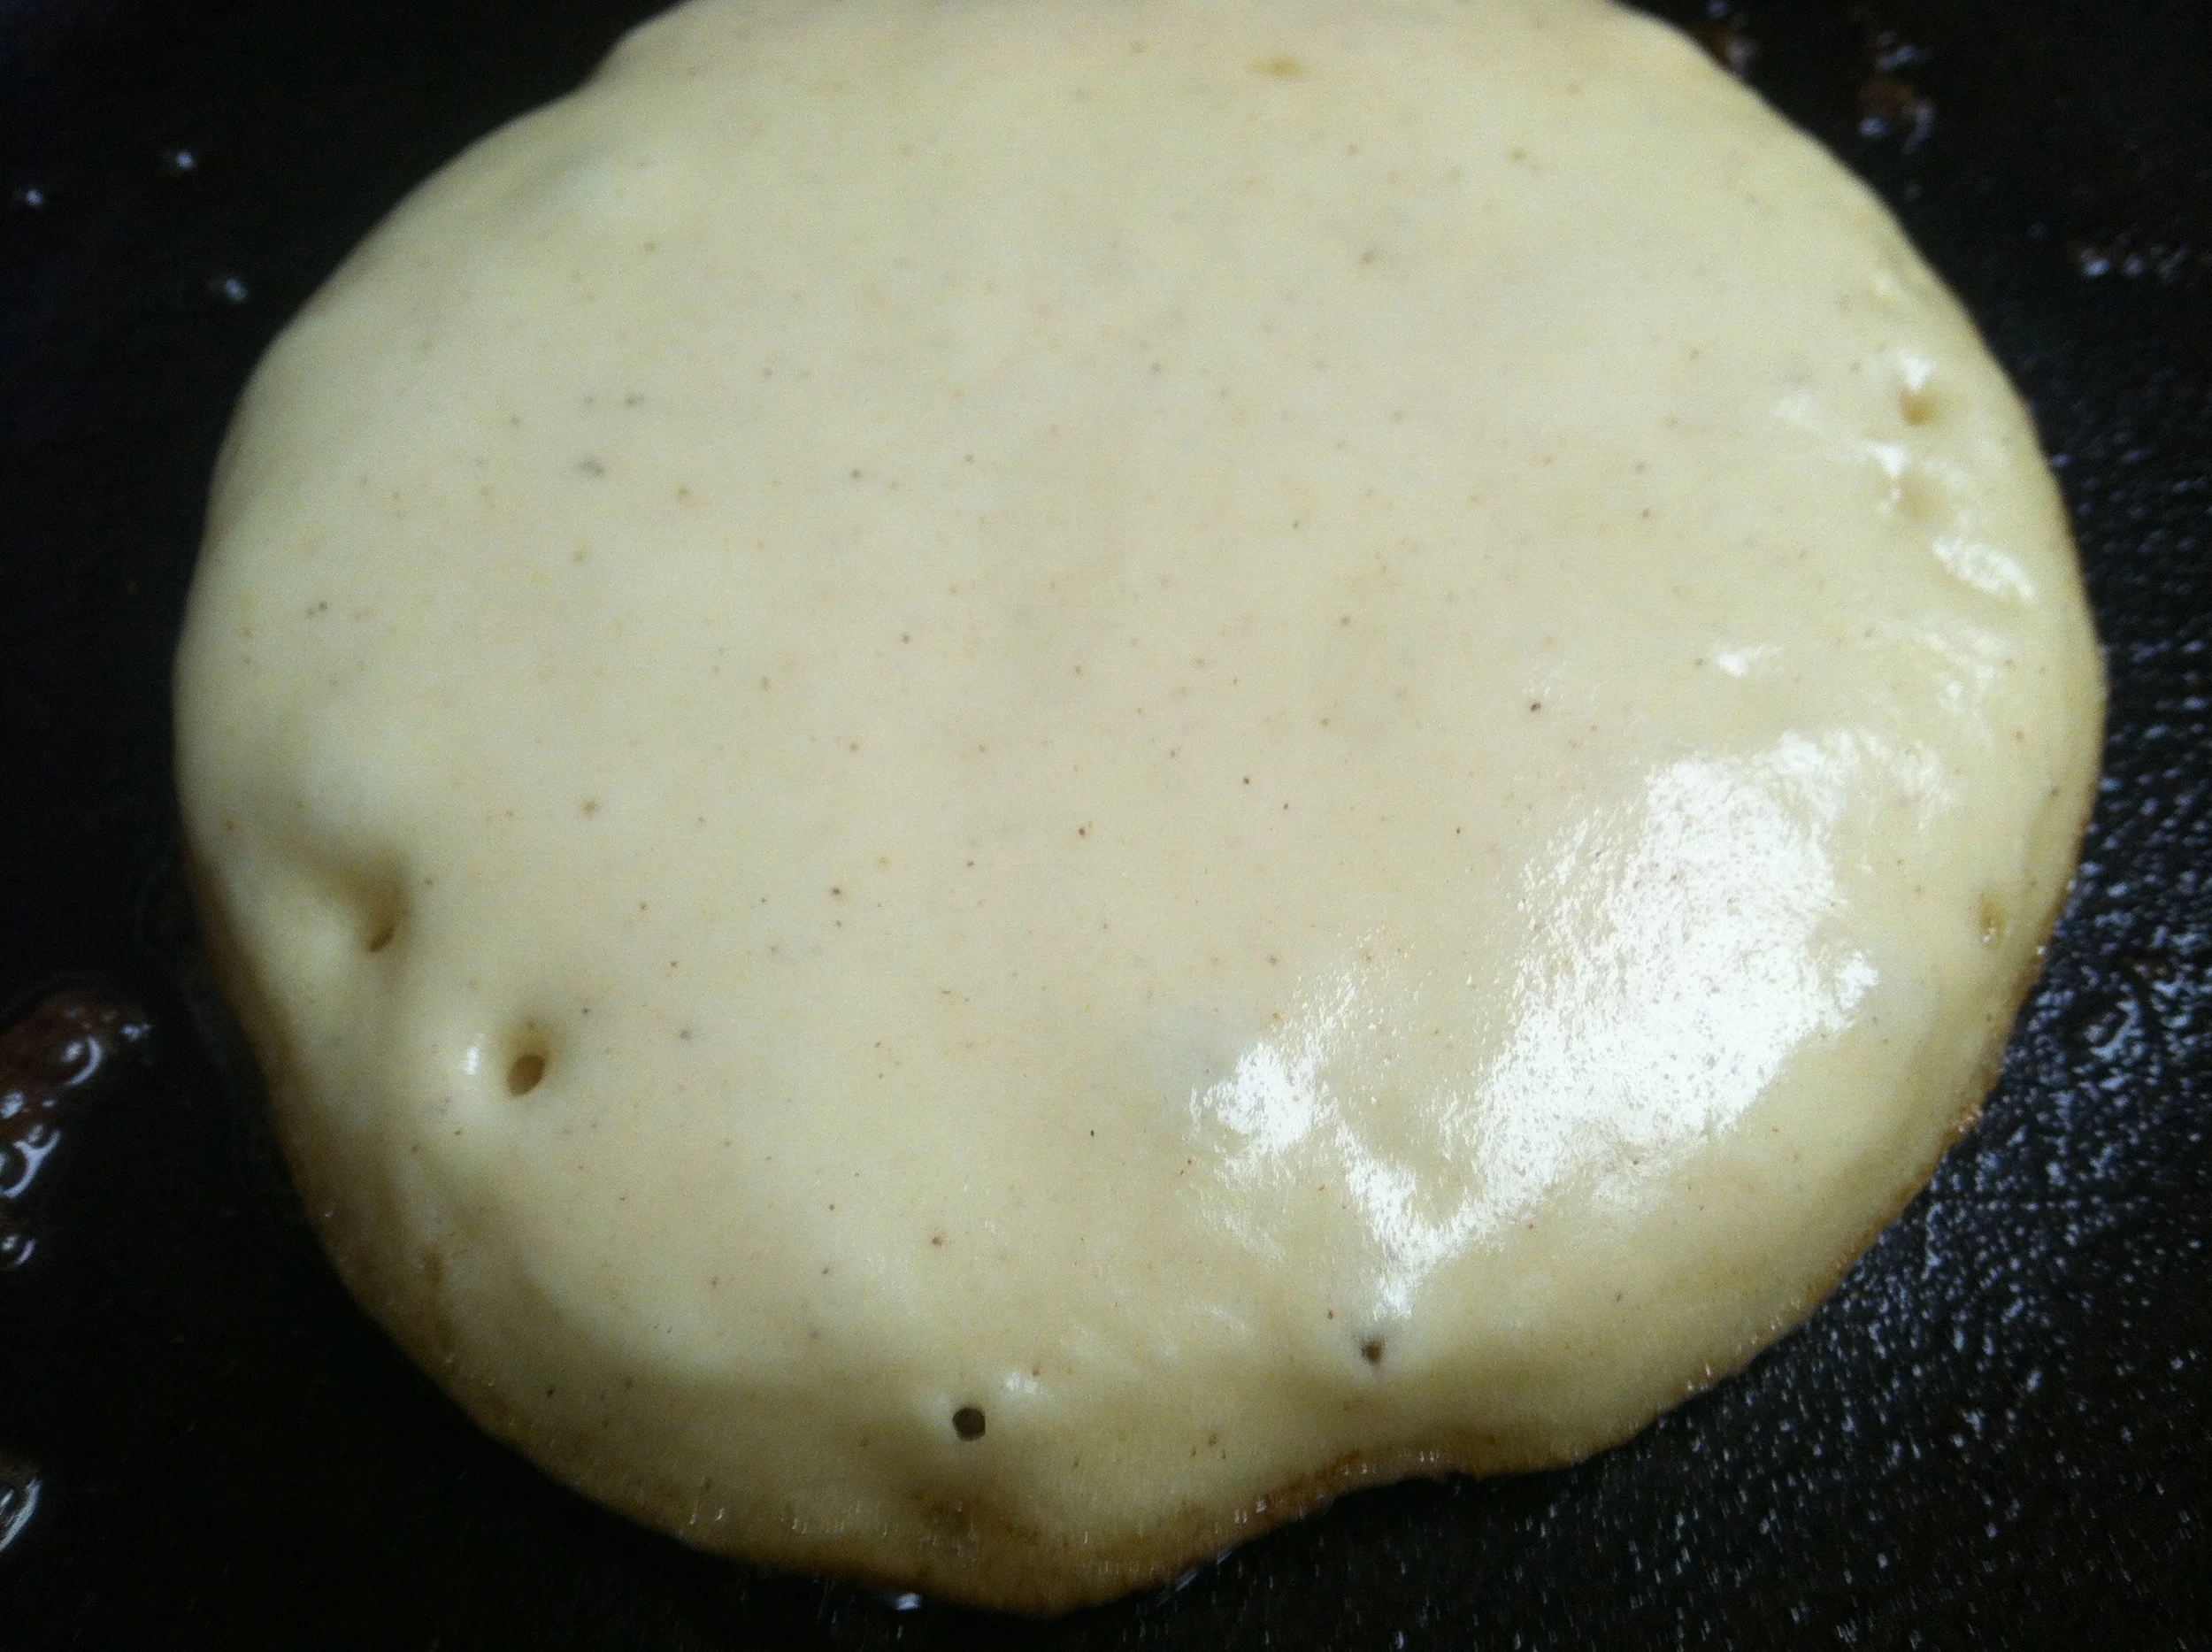
-Pour 1/5th of the batter on your pan, if you have a large griddle you can make 2 or 3 at a time. Otherwise one at a time. Patience = Great Pancakes.
-Don't touch the batter, let it sit and cook until you see bubbles start to rise and pop on the surface.
-Bubble popping is your cue to flip. Slide your spatula under it gently to make sure a nice brown crust has formed, then flip quickly.
-Don't worry if it's not a perfect circle. Delicious pancakes come in all shapes and sizes.
**now STOP, don't touch the pan, put your spatula down, you will be tempted but don't do it, don't SQUISH your pancakes! You want them fluffy don't you?
"How will I know when they're done?" - Easy! Take a toothpick or cake tester and gently slide it through the thickest part of the pancake, if it comes out clean, it's ready.
-This can be anywhere from 2-4 minutes on each side. Don't flip your pancake more than once.
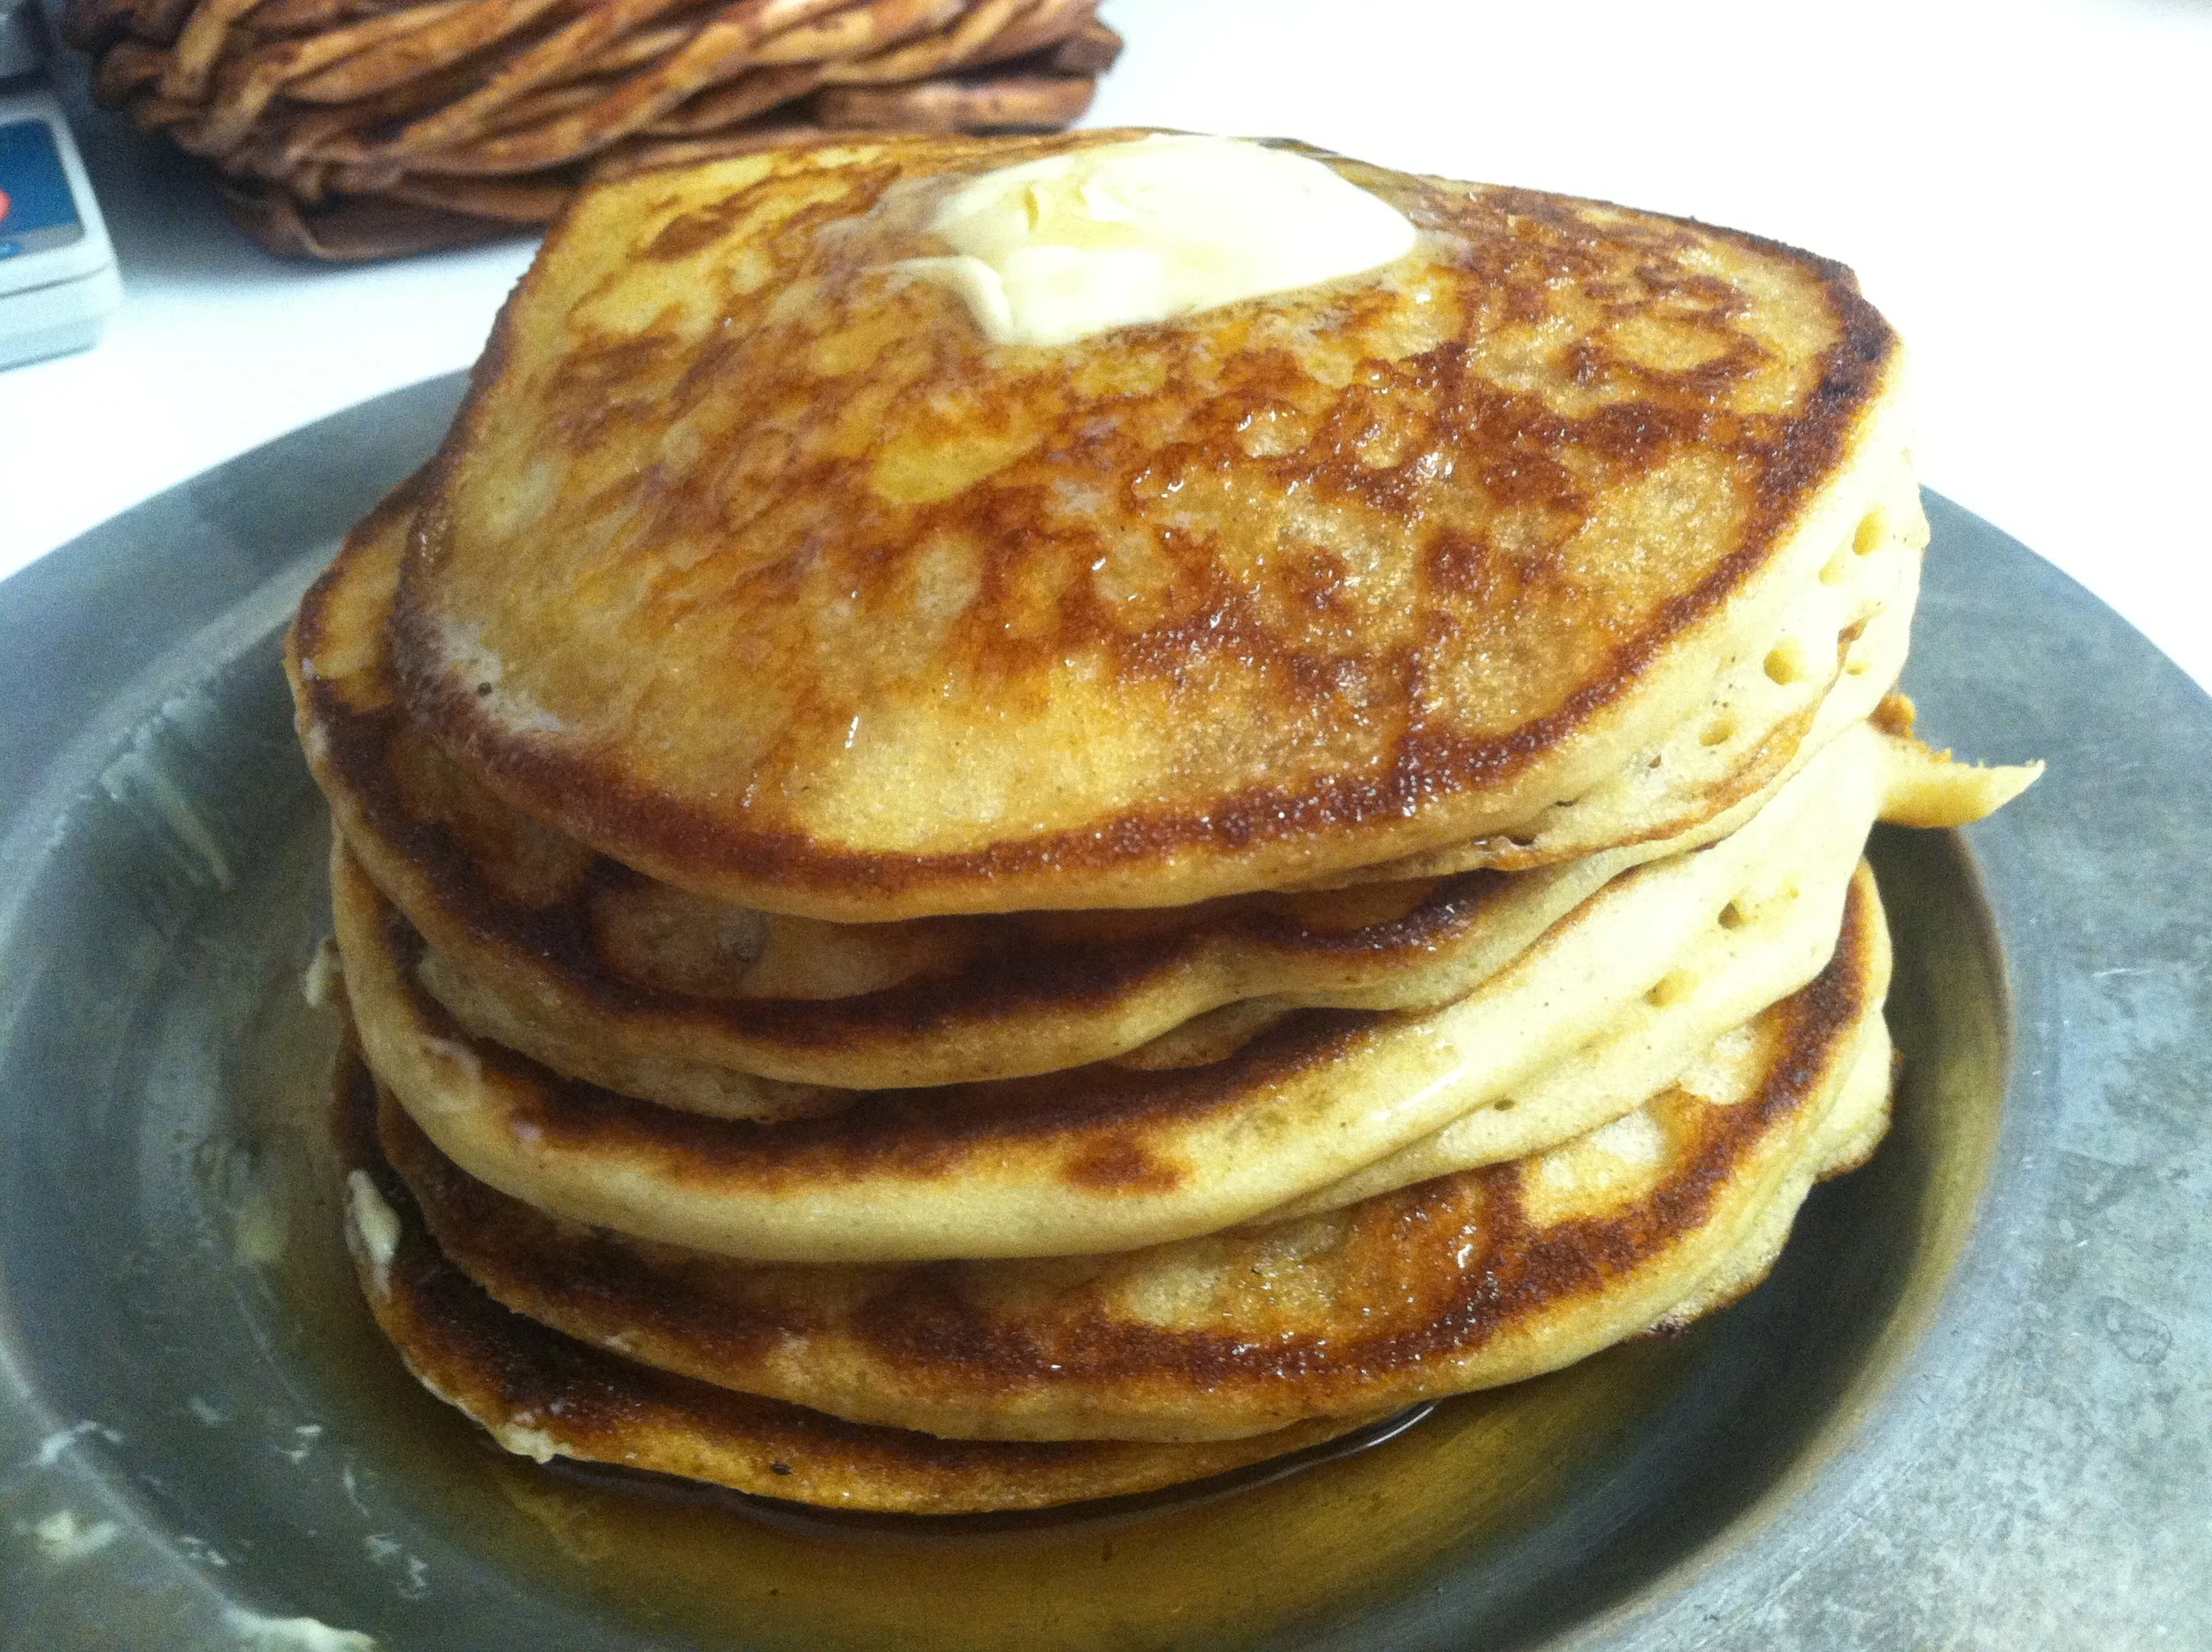
-Once ready, plate, and repeat these steps until all your pancakes are done.
-Cover with fresh fruit, compote, butter, powdered sugar, maple syrup, or whatever sounds good to you.
Enjoy!
Next Recipe: 1950's Apple Upside Down Cake w. Whipped Sour Cream
**We are part of Amazon's Associate program. What does that mean? By clicking on any product or ingredient link and making a purchase you are supporting more tasty recipes like this one as well as our awesome Giveaways. Thanks!